Fastcgi
fastcgi
- 使用my.xxx.com域名访问的时候,关掉VPN
- WSL安装php-fpm
sudo apt install php-fpm
- 修改配置
注意安装的php版本号,这里是8.1, 然后修改配置文件
-
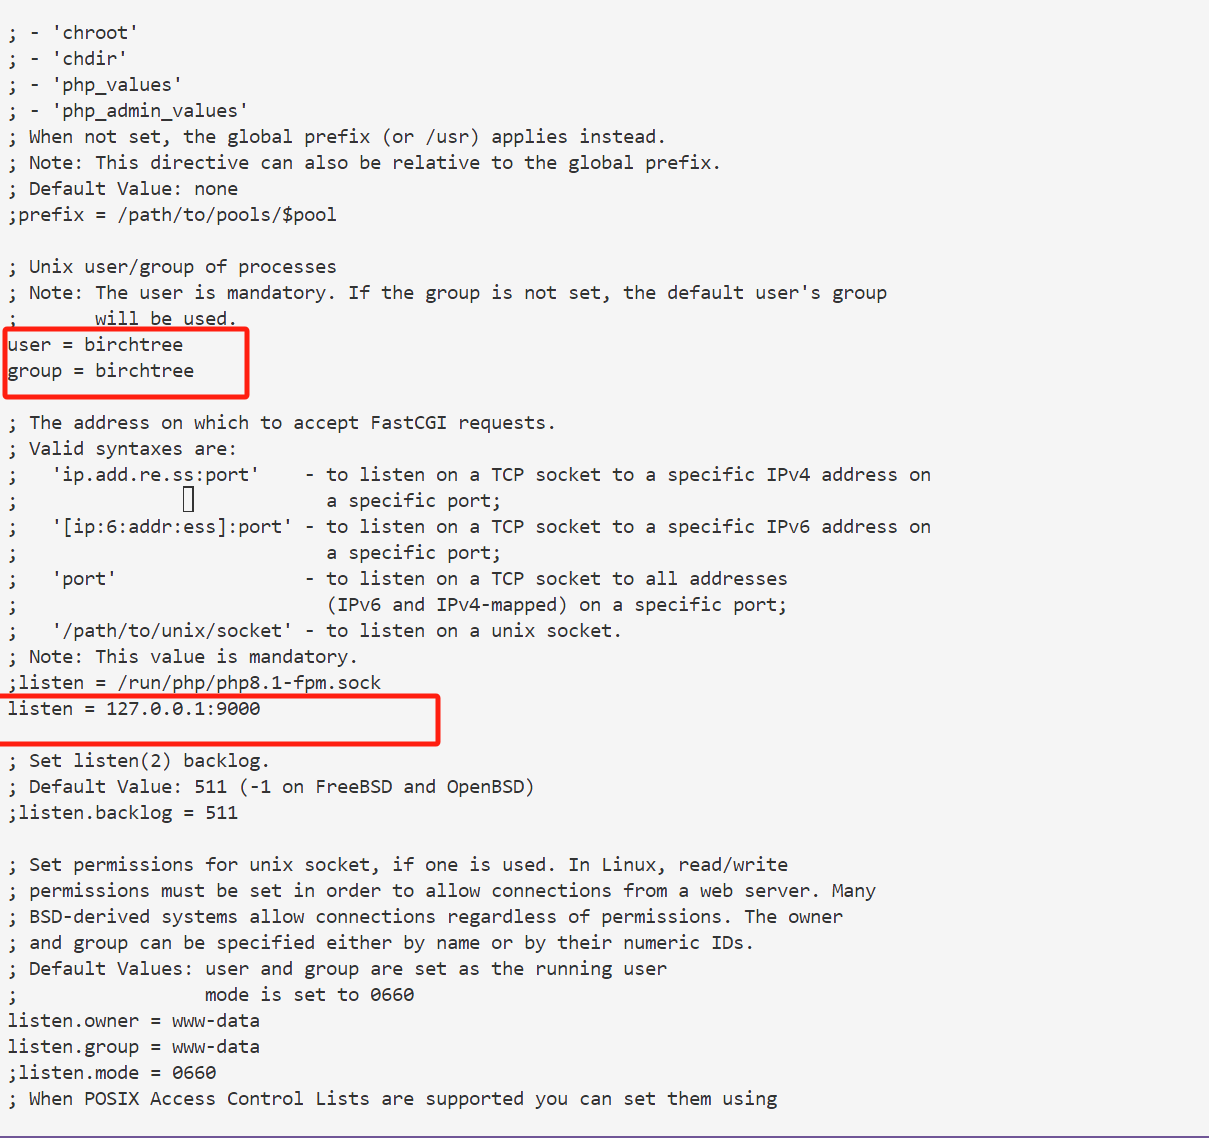
把user = www-data 改为 user = 你的linux用户名。group = 你的linux用户名。跟你创建do.php文件时的用户要一致, 否则php-fpm运行php脚本的时候会有权限问题。
-
找到listen = /run/php/php8.1-fpm.sock这一行。把它用;注释掉或者删掉,改为 listen = 127.0.0.1:9000 (代表使用tcp) 跟代码里面对应
int sock = fcgi_init_socket();

if (fcgi_connect(sock, "127.0.0.1", 9000) < 0)
    fcgi_exitWithErr("Cannot connect to FastCGI Gateway");
如果运行服务端时修改了配置, 需要用sudo systemctl restart php8.1-fpm重启
- 启动
注意必须要加上版本号
启动之后,用下图命令可以测试,注意用户要和do.php的用户一致

查看端口绑定是否正确:
如果出现tcp LISTEN 0 511 127.0.0.1:9000 0.0.0.0:* 则表示启动成功
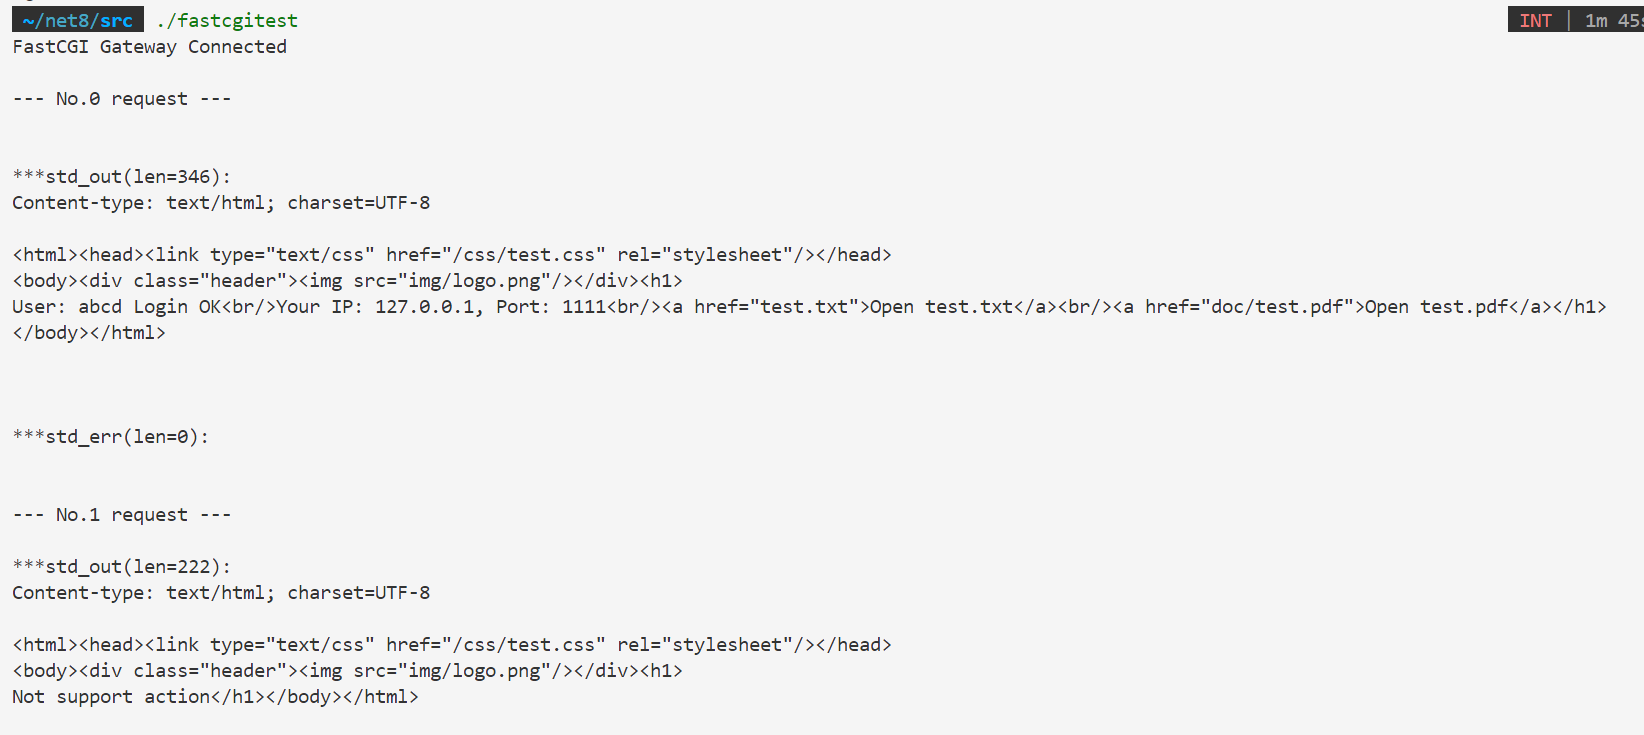
5.运行qjs给的的fastCGI_Test.c,测试能不能连上
注意SCRIPT_FILENAME这里需要使用php文件的绝对路径。 可选参数同理,也可以把可选参数注释掉。
编译
运行效果